
David Jefferis on ways to crack a problem
Once upon a time, my model gang used to meet up on Saturday mornings, pack-hunting for the latest model kit. When we’d parted with our pocket money, off to our homes we’d go, aiming to vote for the best-made model a few days later. Once homework and household chores were done, out came the cement, craft knife, and other tools needed to assemble that object of desire as neatly as possible.
A taster-size three-bottle port set formed this over-the-door storage solution. It’s supported by the door surround, and a single nail in the plasterboard wall.
Danger on display
Once it was assembled and painted, I’d proudly put the finished model on the display shelf - and that’s when the trouble started, because within a week, that shelf needed dusting. And not only the shelf, but the delicate fine parts on my latest model - windows, doors, flaps, pitot tubes, canopies, guns, aerials, antennas - had collected their share of dust, too. I won’t go into the torment of seeing the damage resulting from adult Speedy Gonzales dusting sessions!
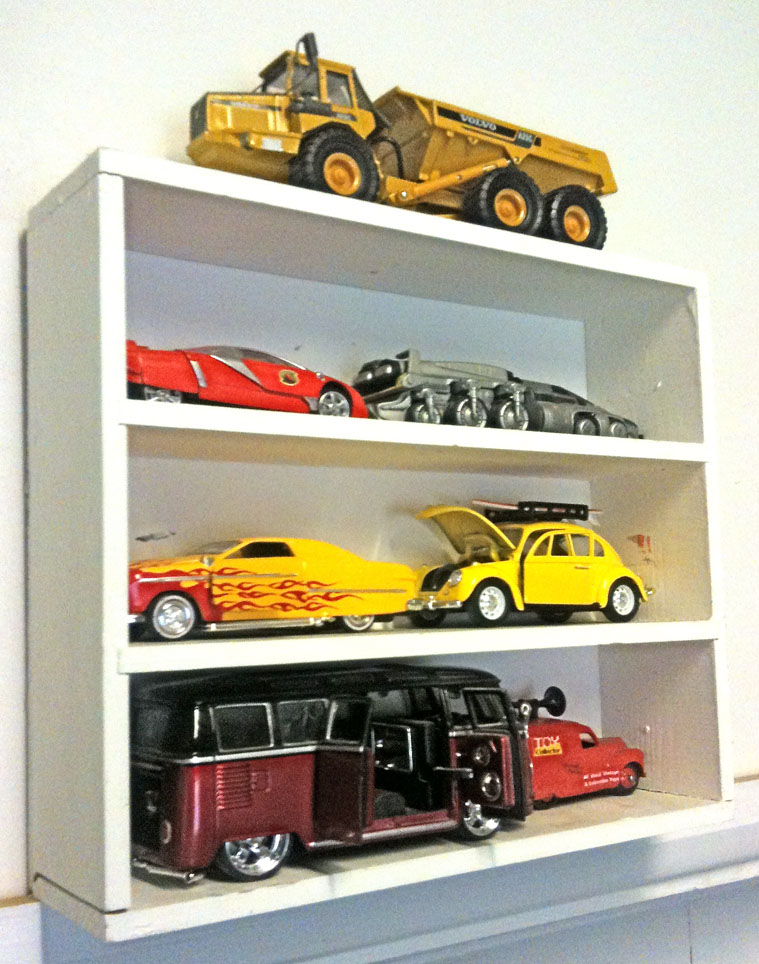
The problem was addressed eventually by the installation of a large multi-shelf corner cupboard. Without a glass door, those models were effectively invisible most of the time, but at least they didn’t collect quite as much dust, and it was easier to keep house-proud hands away. So problem - mostly - solved.

This item originally came from an art supplies shop, later liberated from my daughter after the beads and sequins in the compartments were used up.
Defeating dust
Here in 2011, dust remains an enemy, so here are some suggestions for keeping your collection pristine, with an emphasis on speed and cheapness. First off, keep those wooden bottle-boxes you see on special occasions, especially at Christmas. Every one can be repurposed as a useful display unit, albeit one that’s most suited for vehicles, figures or other small items. I first remove any lining or string, give the box a quick once-over with fine glasspaper, then spray with suitable paint. White aerosol primer gives a clean finish, looks good, and sets off colours particularly well.
Store it anywhere
The great thing about small storage like this is that you put a shelf up almost anywhere - over a door, in a corner, on a wall - if there's some space, you can use it, and normally the only fixing needed is a small nail or screw. With one of these at the top, plus a pair of small rubber feet at the lower edge to keep things stable laterally, you have a neat display cabinet. No glass front for sure, but very little dust seems to collect in those mini-shelf zones.

Eat the chocs first first, then use the box!
Tastes good and looks good
Next idea is to use the plastic containers that chocolates come in - Ferrero Rocher is a brand which tastes good, and comes in a variety of useful transparent boxes. The pyramid shown here was an Easter Collection presentation. In this instance, I paired a racing truck and a Mini on a black square of card, adding the racetrack picture behind to supply some atmosphere.

Black card for the base, and two neatly parked vehicles.

Open the box! No diamonds inside, but an attractive Hot Wheels diecast instead.
Secret store
What about really small items? I have quite a few concept- and dream-car diecasts in my collection, mostly Hot Wheels made to the standard, if rather nominal, 1:64 scale. They are neat models in their own right, and often represent unique vehicles which are not modelled elsewhere. The example shown here is ‘Fast Fuse’, a sort of 1960s-era custom fantasy, crossed with a hot rod-style exposed engine. Very nice too, and I found a small sweet-tin for it - just the right size to present as a ‘mystery box’ for inquisitive visitors to inspect.

I added a black silk lining to make the interior somewhat special, and to protect the car's paint finish.
Away with adhesive
I needed to get rid of a particularly sticky label on the lid before I could press the tin into service. My normal routine is to get rid of the paper part of the label by soaking with hot water, which is the easy bit. Removing the adhesive is usually more difficult, as high-tack compounds are used to help defeat shoplifters. The best solution I have found is to melt as much adhesive as possible with hot water (don’t scald yourself though) then carefully clean off the residue with a wipe soaked in lighter fluid, a product that comes in useful for all sorts of minor cleaning jobs.
I’ll be looking at cheap or free solutions for storing bigger models in a future article.
Pix courtesy David Jefferis, SMN studio.


0 comments:
Post a Comment